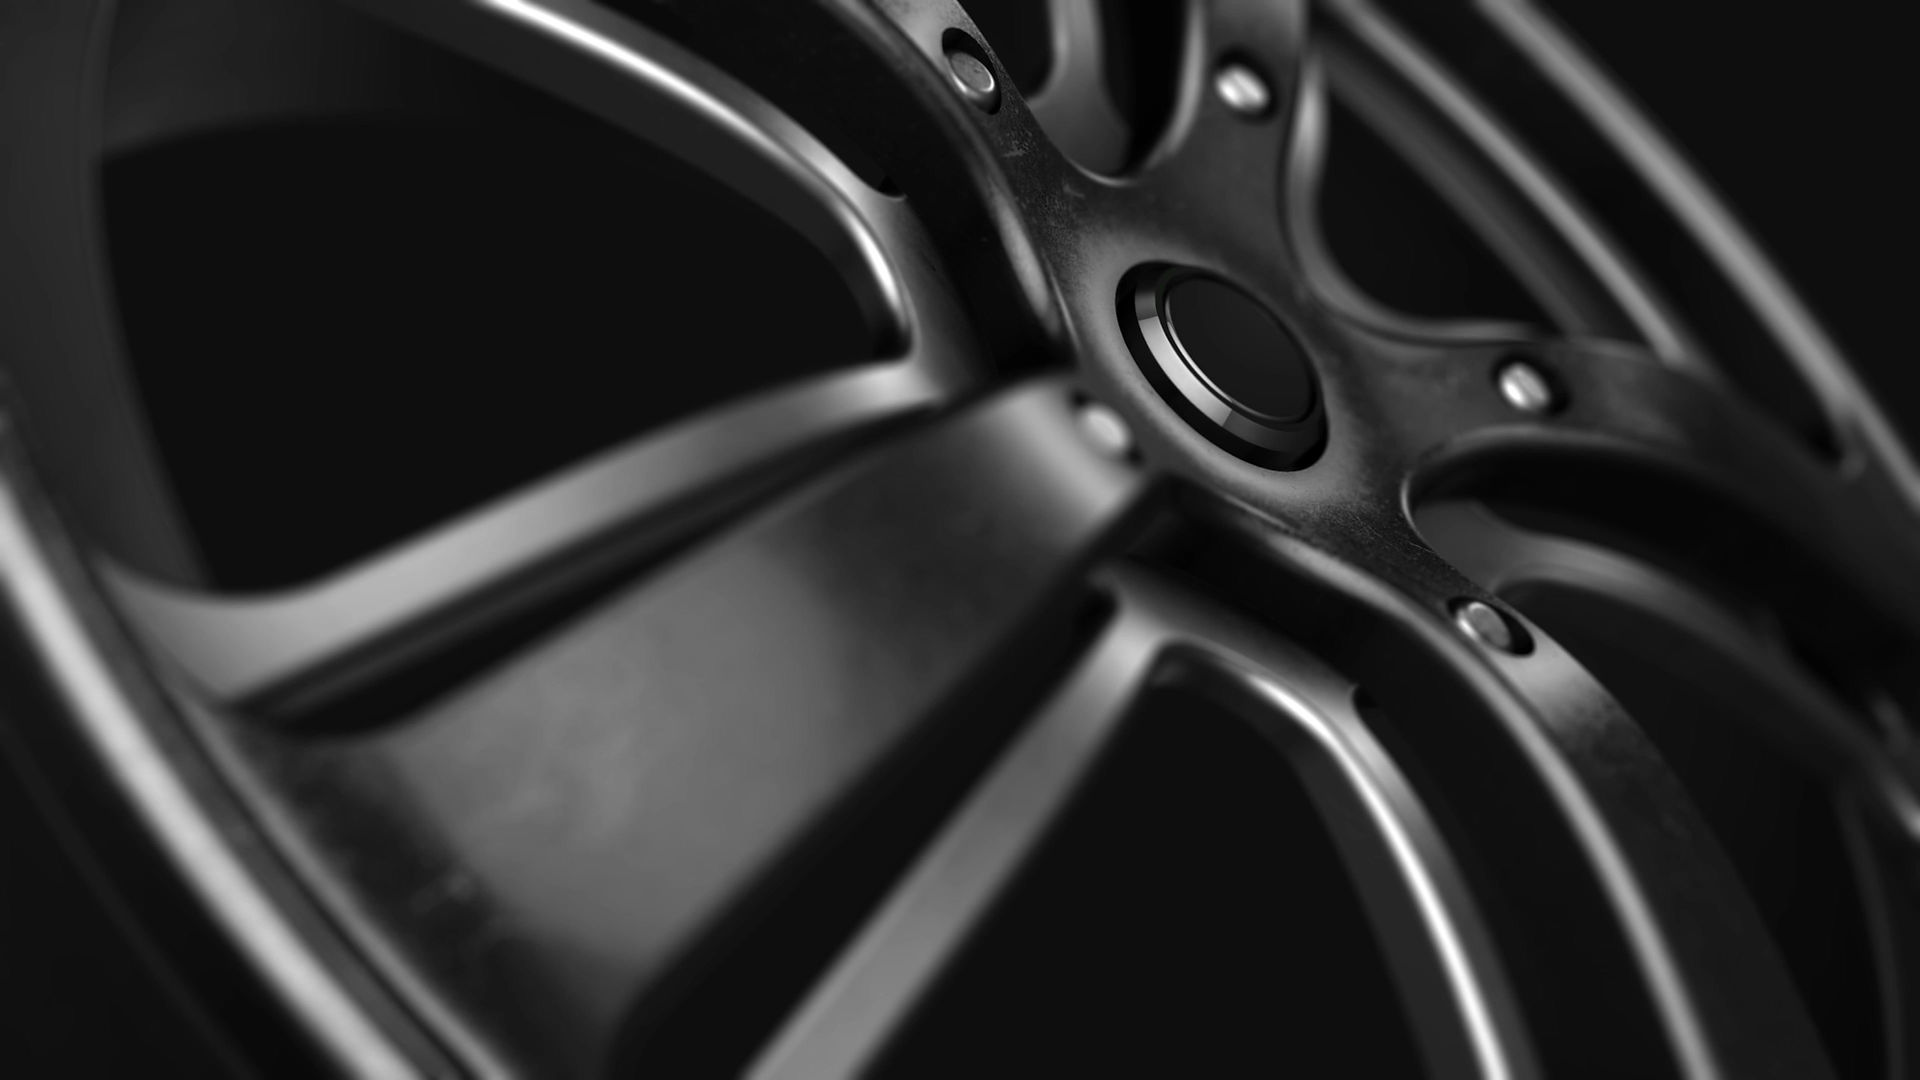
The operation of the tire balancing machine after tire replacement
- enze6799
- Nov 20, 2025
- 3 min read
How to Operate a Wheel Balancer After Tire Replacement: A Step-by-Step Guide
Properly balancing tires after replacement is critical for vehicle safety, performance, and longevity. Unbalanced wheels can cause vibrations, uneven tire wear, and strain on suspension components. This guide outlines the essential steps to ensure accurate balancing using a wheel balancer, emphasizing precision and safety.
Preparing the Wheel and Balancer
Cleaning and Inspecting Components
Before mounting the wheel on the balancer, thoroughly clean the tire, rim, and hub area. Remove dirt, debris, or old adhesive residue from the wheel’s mounting surface and the balancer’s adapters. Inspect the rim for cracks, bends, or corrosion, as damaged wheels may affect balancing accuracy. Similarly, check the balancer’s shaft and adapters for wear or damage.
Selecting the Right Adapters
Wheel balancers use cones, collets, or flange plates to secure the wheel during rotation. Choose adapters that match the wheel’s hub bore diameter. For hub-centric wheels, use a centering cone that fits snugly into the hub hole. For stamped steel wheels, install the cone from the backside to align with the wheel’s original stamping process. Modern balancers may include self-centering systems, but manual selection remains crucial for older or specialized wheels.
Mounting the Wheel on the Balancer
Proper Alignment Techniques
Slide the wheel onto the balancer’s horizontal shaft, ensuring the adapters engage the hub bore correctly. For hub-centric wheels, the cone should center the wheel automatically. For lug-centric wheels, use a flange plate with lug bolt holes to mimic the vehicle’s mounting pattern. Tighten the shaft nut or locking mechanism firmly to prevent slippage during rotation.
Verifying Stability
After mounting, gently spin the wheel by hand to check for wobbling or misalignment. If the wheel wobbles, reposition the adapters or adjust the tightness of the shaft nut. A stable mount ensures the balancer measures imbalances accurately, reducing the need for repeated adjustments.
Balancing the Wheel
Static vs. Dynamic Balancing Modes
Most balancers offer both static and dynamic balancing options. Static balancing corrects vertical imbalances, while dynamic balancing addresses both vertical and horizontal forces. For standard passenger vehicles, dynamic balancing is recommended, as it provides a more comprehensive solution. Heavy-duty or performance vehicles may require additional checks in both modes.
Interpreting Balance Readings
Initiate the balancing cycle by pressing the “start” button. The balancer will rotate the wheel and display imbalance measurements in grams or ounces, along with the location of the imbalance. Modern machines use LED displays or digital screens to pinpoint the exact position where weights should be added.
Adding Counterweights
Based on the balancer’s readings, attach adhesive or clip-on weights to the rim. For static imbalances, place weights on the heavy side’s opposite rim edge. For dynamic imbalances, follow the machine’s instructions to add weights at specified angles. Use a caliper or ruler to measure distances precisely, ensuring weights align with the balancer’s markings.
Final Checks and Safety Considerations
Re-Spinning the Wheel
After adding weights, perform a second balance check to confirm the wheel is within acceptable tolerance levels. Most balancers allow for fine-tuning by adding or removing small amounts of weight. If vibrations persist, re-examine the wheel for hidden damage or incorrect weight placement.
Safety Protocols During Operation
Always wear safety glasses and gloves when handling weights or adjusting the balancer. Keep hands and loose clothing away from the rotating shaft. If using a pneumatic balancer, ensure air pressure is set to the manufacturer’s recommended level to avoid sudden movements. For high-speed balancers, stand clear of the wheel’s trajectory during rotation.
Post-Balancing Maintenance
Clean the balancer’s shaft and adapters after each use to prevent residue buildup. Store weights in a dry, organized container to avoid corrosion or loss. Periodically calibrate the balancer according to the manufacturer’s guidelines to maintain accuracy over time.
By following these steps, technicians can ensure tires are balanced correctly after replacement, enhancing vehicle safety and performance. Precision in mounting, balancing, and safety practices minimizes the risk of vibrations and uneven wear, extending the lifespan of both tires and suspension components.


Comments